Monday, October 24, 2011

Fall Table Bushel

Hey y'all! Since my favorite season is fall, I thought I'd share a centerpiece I made this week. It was really quick, easy, and cheap! Can't complain about that. Here it is!


First, I picked up some free paint samples from the store. I chose colors that went with the fall theme I was going for. They even had some with leaves! Who would've thought?

Paint Samples - FREE

Then, I grabbed an old book that I bought from a garage sale for
20 cents. It looked like it might have some nature-type text, and
by golly, it did! 

Book - 20 cents

I flipped through it to find sections about LEAVES, since that was the theme of my project.

Heck, I even learned a few facts while crafting.

Chlorophyll - more like Bore-o-phyll!

Next, I cut the text into squares - the same size as the paint samples that I cut earlier. To me, I didn't matter if I cut words off - but I wanted to make sure I kept certain words like "autumn" and "leaves."


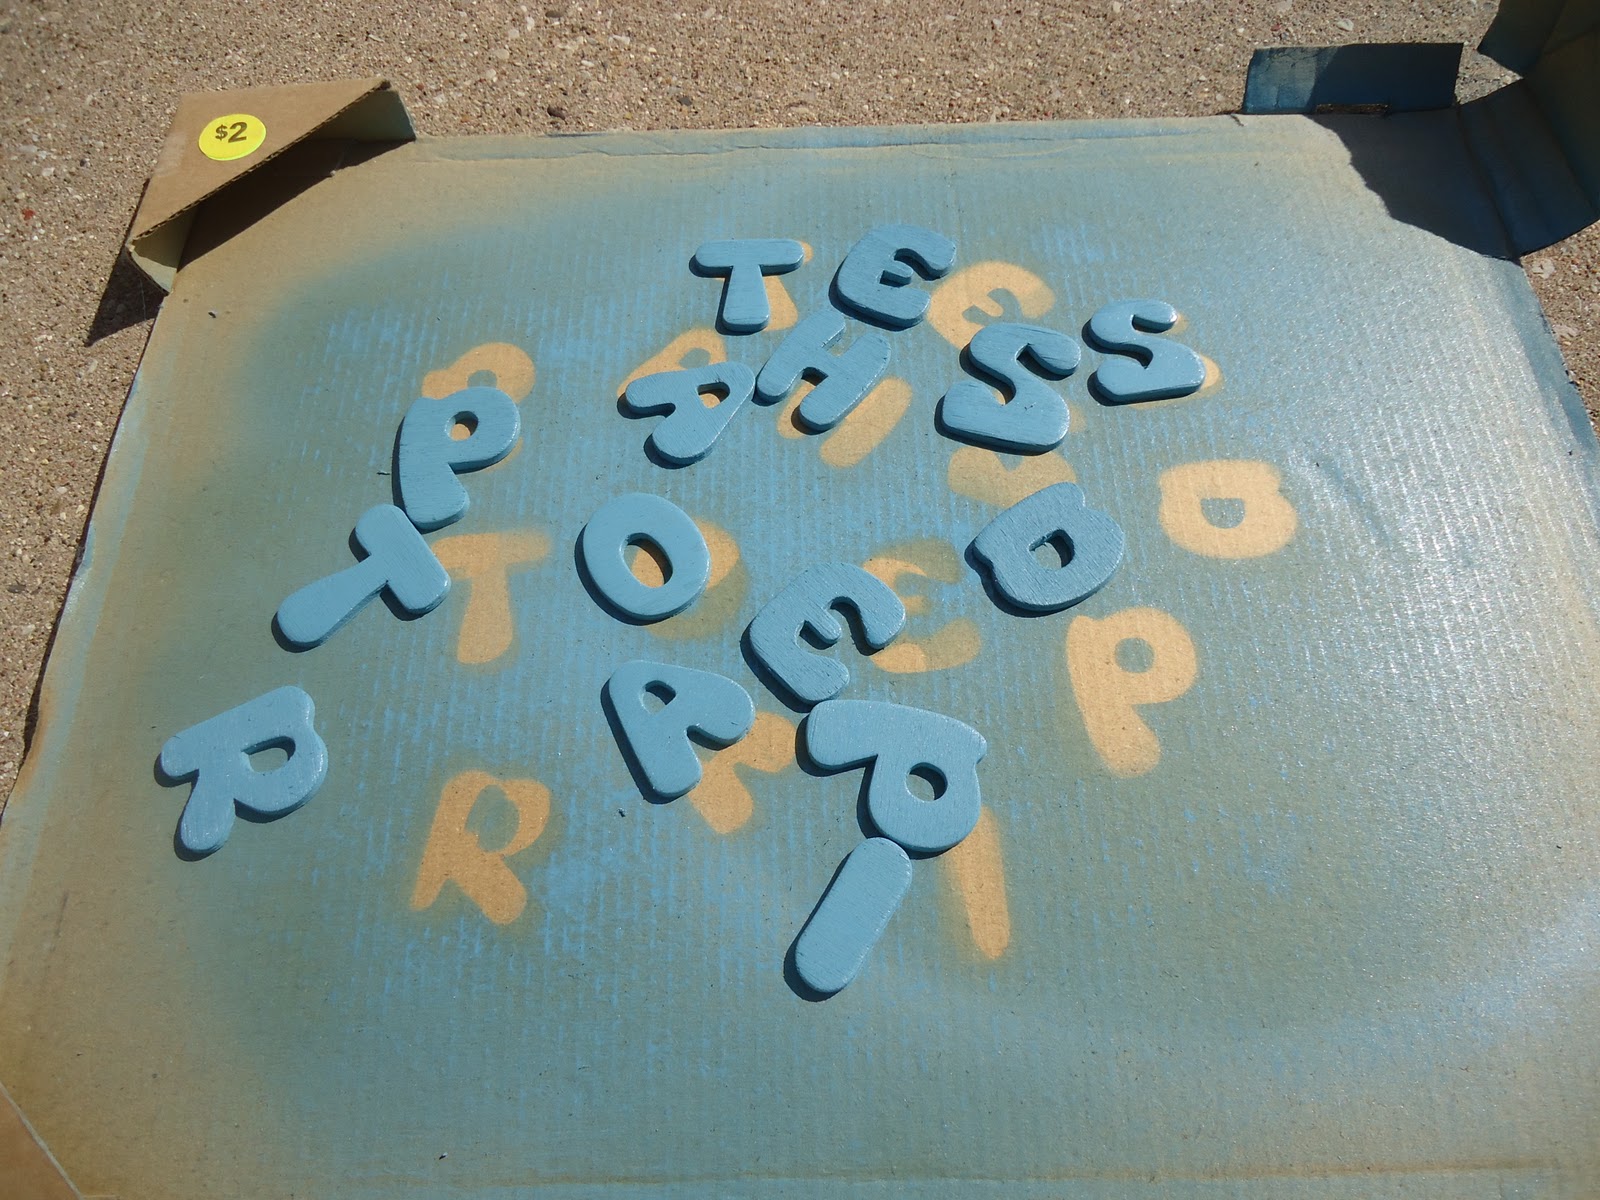
Then, I crumpled these up and opened them back up again. Who knows why - I guess I like the look of imperfection. Next, I used the leaf-print paint sample to cut letters spelling "F A L L"


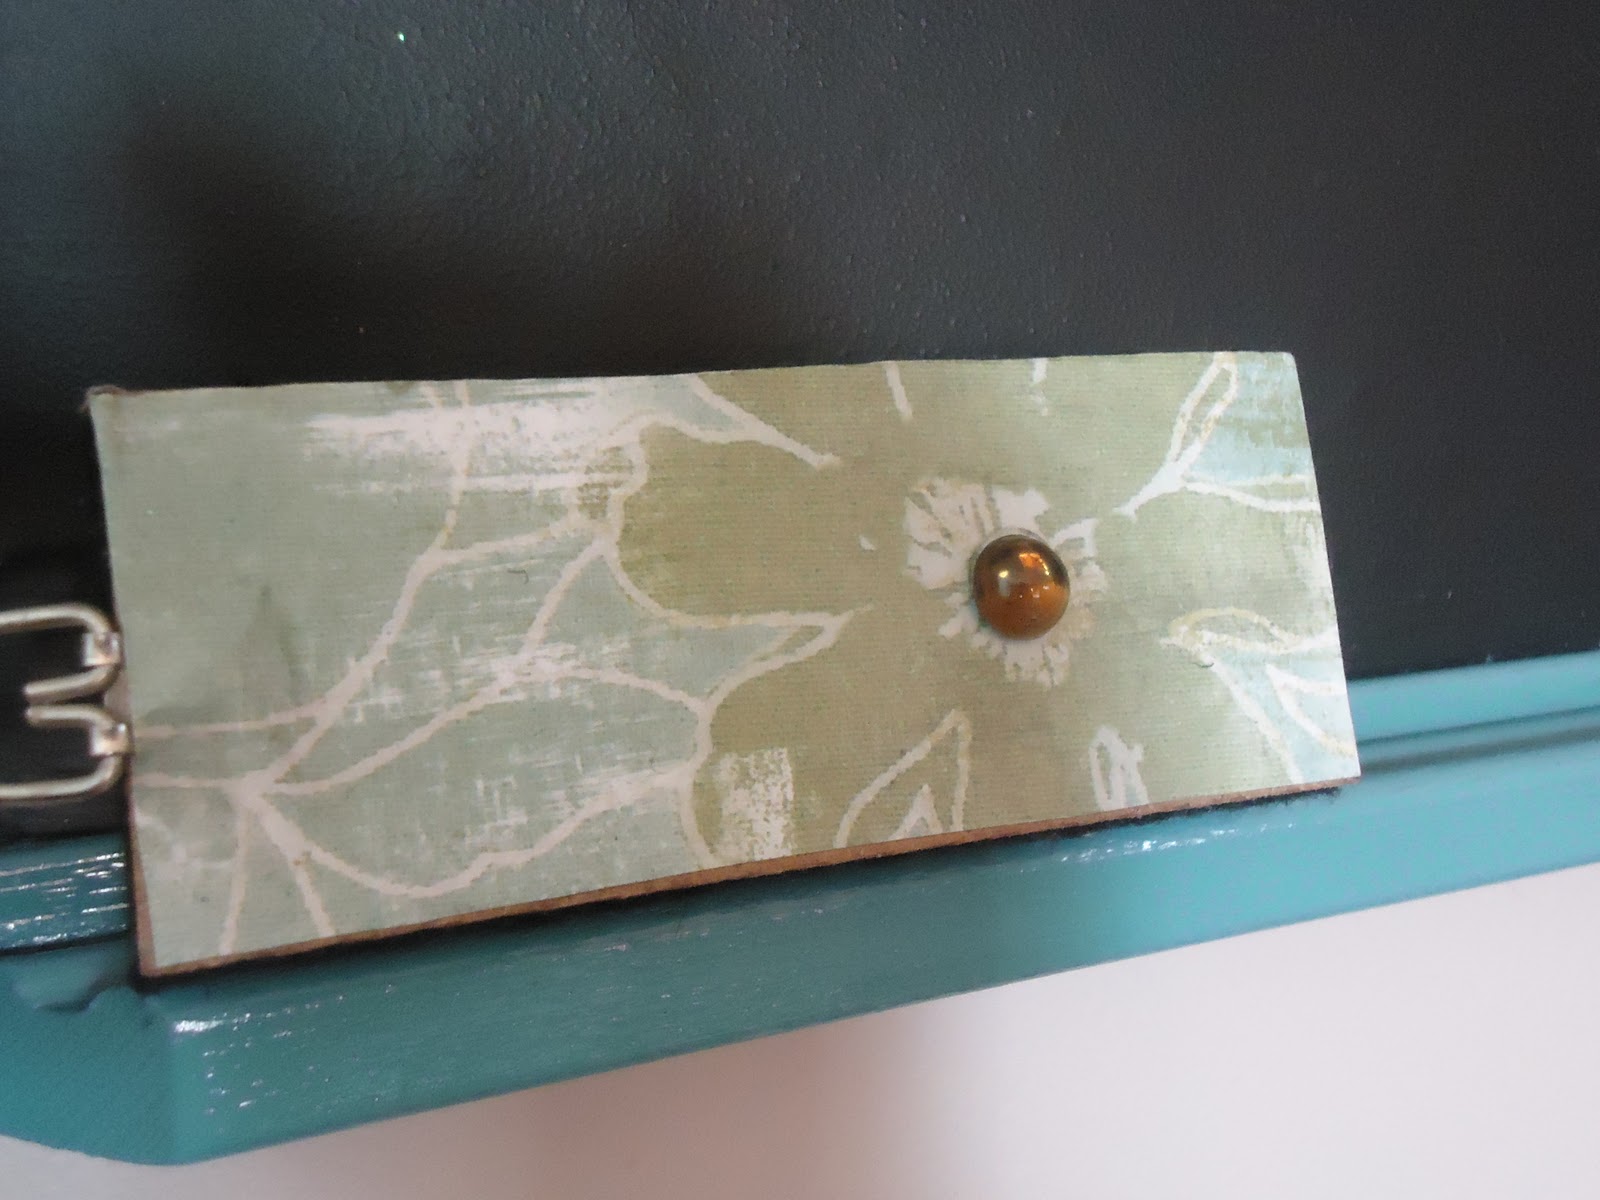
Then, I bordered the letters in different colored paint samples to make them "pop." I glued the book pages and the letters to the paint samples and let them dry in a book overnight to make sure they were flat. Next, I punched holes in the top and threaded them together some good ole' garage sale twine. While these people sold it is beyond me - I've used it thrice already!

 Punch

Thread

I originally was going to include beads, but then decided it looked too busy. Once I had my "garland," I tied it to a bushel I bought from a garage sale. I filled the bushel with cardboard pieces to make the contents show. Then, I filled it with mini pumpkins, an old washboard, and some decorative wheat. 

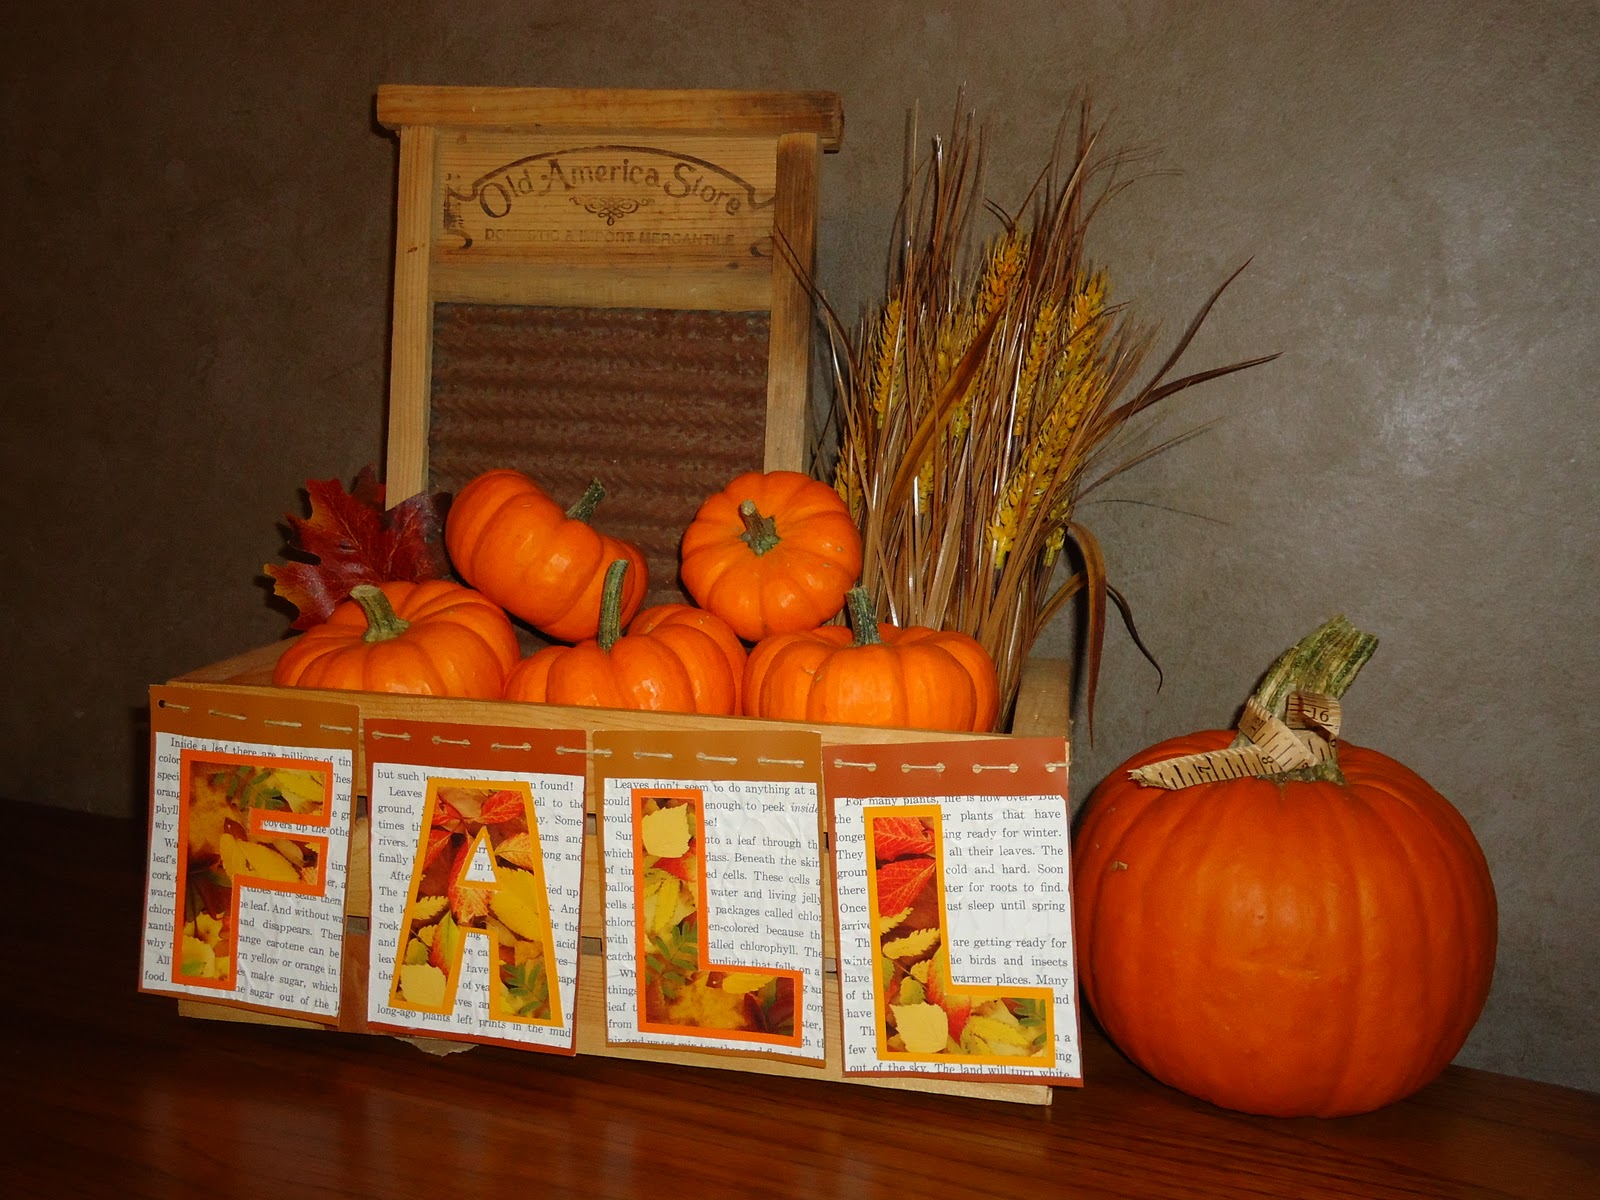
The Finished Display

Cost Breakdown
Pumpkins - $3.00
Wheat - 50 cents (last season's clearance)
Garland - 20 cents (from book)
Washboard - 50 cents (garage sale)
Bushel - 50 cents (garage sale)

TOTAL COST - $4.70

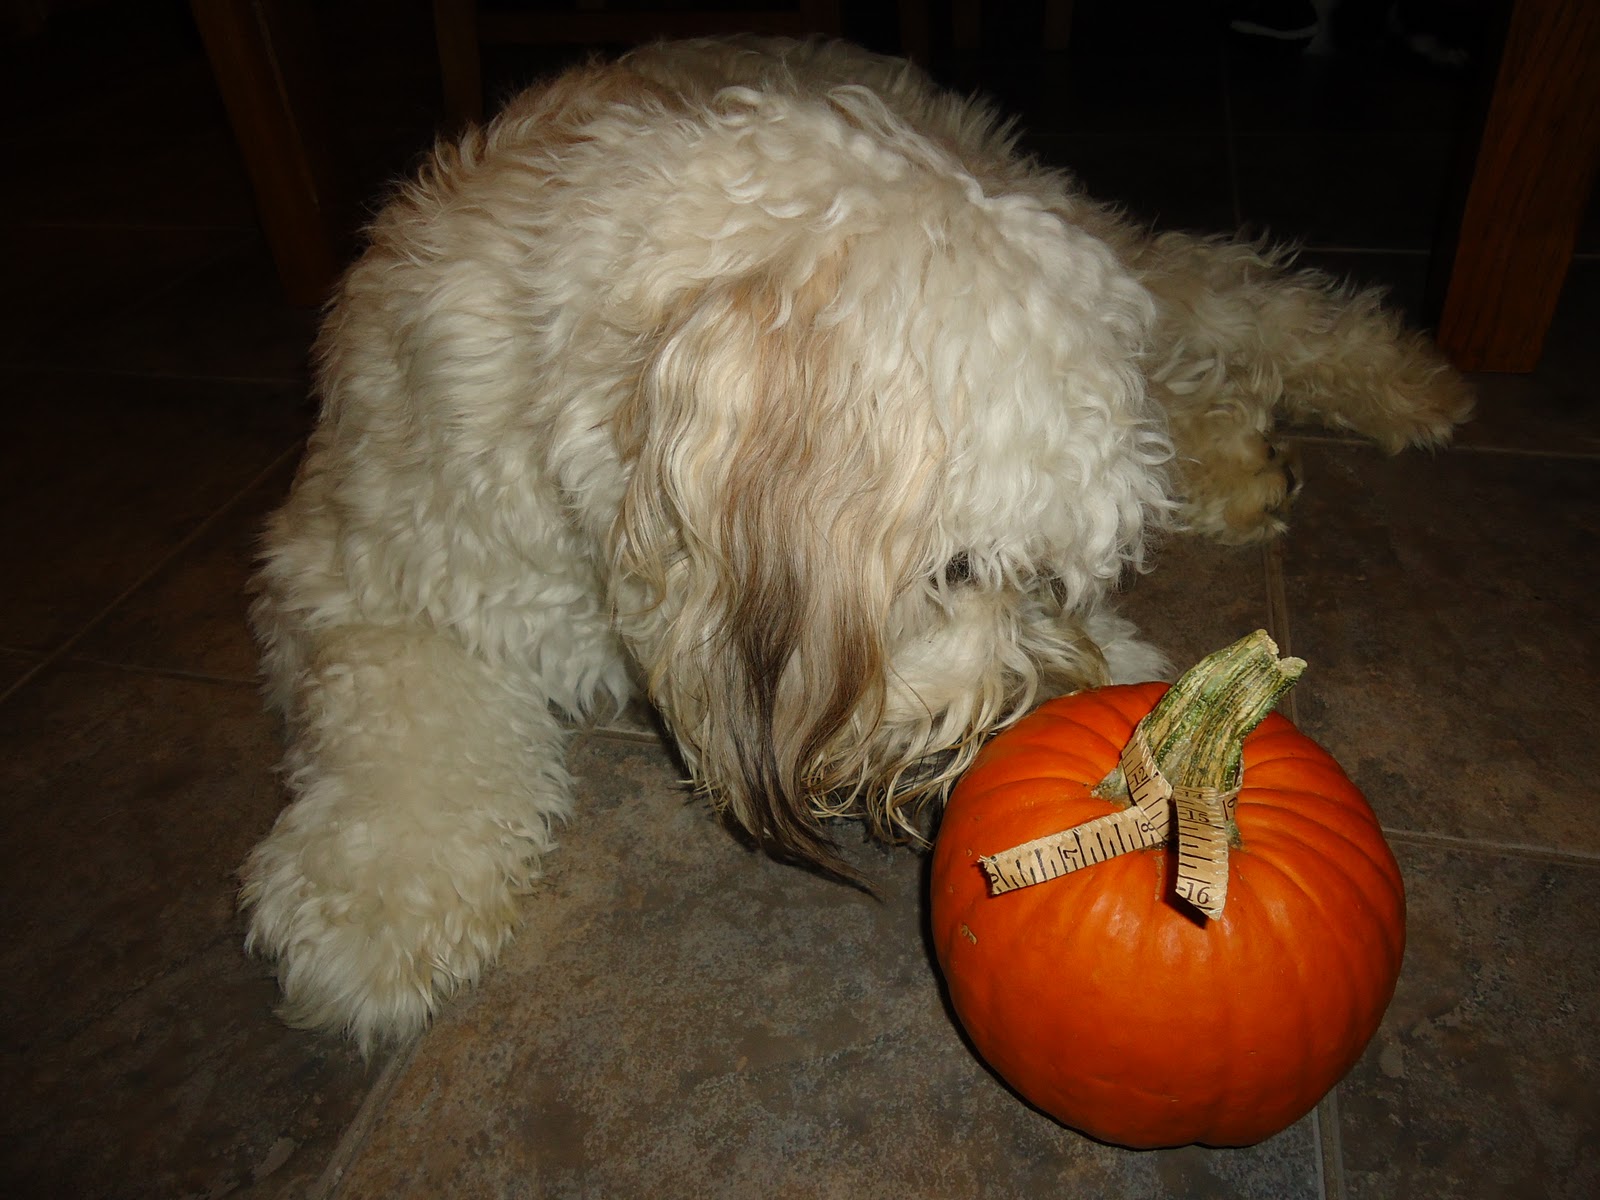
 I just tied some scrap measuring tape on there for fun!

Gosh, I just love fall colors.

Oh, and in case you were wondering, HERE'S what happens when you try to make a Wheaten Terrier pose with a pumpkin...

 Is this a treat, ma?

Yum! Tastes like a bone!

Hey! Give me my treat back! I didn't do anything wrong, Ma.


SOMEBODY needs his beard brushed. Not naming any names.


Take Time for Lemonade,

Saturday, October 15, 2011

Neighbor Welcome Basket

We just had some new neighbors move-in next door to us. They seem very nice, and have two Labrador Retrievers! Hopefully they like Jake. So far, they've just been friendly barking through the fence to one another. New besties?!

Anyway, I decided to bring over a welcome basket, introduce ourselves, and exchange contact information. Since I spent four hours making kolacky with my Grandma today, I decided that baking was out of the question. So, I put together a quick little basket with a few goodies for the new homeowners.


Neighbor Welcome Basket
HGTV Magazine
Painting Pamphlets
All-Purpose Paintbrush
Painter's Tape
Picture Hanger Kit
Card with Neighbor Contact Info

I thought that these were items that every new home owner could definitely use. I was kinda psyched about the picture hanger kit.
Wish we had one!

I made the "Welcome" sign and card from paint swatches (FREEEEEE!!!). I found one that was particularly applicable to the situation, and put it in front:

"Warm Welcome"
Love the saying...love the paint color!

Gotta love SIMPLE and FREE

 It's fun to play around with paint swatches to make different color combinations!

Just a little welcome package...

Hope this basket helps my new neighbors turn their new
house into a HOME!


Take Time for Lemonade,
Kris


This post has been linked to:

Tuesday, October 11, 2011

Noodle Ribbon Wreath

As mentioned in my last post, my lovely God-daughter was born a few weeks ago. I wanted to make something special for her nursery, and decided on a simple wreath. The ideas? Well, I got them from Pinterest. If you've never been on it - then you don't know the wonderful world that you're missing! Here's the ribbon wreath I created for little Victoria:


In order to make the wreath, I started off with a pool noodle that I purchased from a garage sale for 25 cents. I love the idea of using a pool noodle because (1) they're cheap, and (2) they're thicker (and therefore, cuter) than the Styrofoam rings they sell in craft stores. Cut the pool noodle to the desired wreath size, and duct-tape it until it's secure.

Pool Noodle - 25 cents

 I then wrapped some green tulle around the noodle to soften the bright yellow color. In case I missed any spots, I didn't want the harsh yellow to show through on my pastel creation.


 Then, I chose a bunch of different ribbons. The nursery is pink and green, so I chose a plethora of shades and prints in those colors. I cut them to the desired length after a few trial pieces were measured against the noodle wreath.


The next step is the most time-consuming. Tie, tie, tie! I tied in patterns so that I got a dispersed placement of each pattern and color. For instance, I tied all of the brown with pink dots at various evenly-spaced spots around the wreath. Then, I did the same with the next color. Be sure to tie the knots the same each time. I also added tulle to create a soft look - I especially like this effect for baby nurseries.

Make it as fluffy as you want!  I like it reeeeeal fluffy.

Lastly, I attached a pink flower foam shape that I bought in the craft store clearance bin a while back. I also bought a wooden letter "V" (for Victoria) and covered it in some awesome green glitter. I LOVE GLITTER. I had it in my nostrils and ears for a few days, but
IT WAS WORTH IT.


...and there you have it! A pretty ribbon wreath for a pretty baby...


Take Time for Lemonade,
Kris

Tuesday, October 4, 2011

Grilled Cheese with Attitude

My dearest friend had a beautiful baby girl last week, and guess what?! I'm the Godmother! I went to see the baby (her name's Victoria), and thought I'd bring some snacks for the fam, since they're probably busy and what-not. I thought and thought about something that would please a two-year-old and two adults. It also had to be something simple, because I am not a chef by any means. Not an easy task. Then, I had an idea...

Grilled Cheese and Tomato Soup!

Who doesn't like that? Turns out, two-year-old children don't - but that's beside the point.

Personally, I thought they were delicious.


Parmesan-Crusted Italian Grilled Cheese
Italian Bread (Arnold)
Parmesan, Romano, Asiago Blend (in shaker - Kraft)
Italian Seasoning Blend
Sliced White American Cheese
Sliced Cheddar Cheese
Vegetable Oil Spread (I used "Move Over Butter!")

Basically - it's your standard grilled cheese sandwich, but with some attitude. Spread the margarine/butter spread on one side of the bread. Shake a little of the Parmesan mix and the Italian seasoning onto the bread. Put this slice spread-side-down on the griddle. Put one slice each of the American and Cheddar cheeses. Top with another slice of bread (complete with spread, Parmesan and seasoning on the outside as well). Flip around and cook until they're a pretty golden brown! Substitute with any cheeses/breads you desire.

* NOTE - I discovered that these are best served fresh off the griddle, but they also reheat decently.


I also cut the sandwiches up for easy reheating...


Oh! Don't forget the tomato soup! Come on now...did you think I would split-up this romantic union?


Then, I tied it all up with a little bow and tag. 
Easy as pie! Grilled cheese.


Hope you enjoy this easy lil' recipe as much as I did! 
My husband also approves.

Take Time for Lemonade,
Kris
This post has been linked to:

Sunday, October 2, 2011

Spooktacular Halloween Window

I really like Halloween. I enjoy the concept of scary stuff, and especially love dressing up! Last year, one of my friends gave me a wall decal that I believe she got as a free gift-with-purchase from UpperCase Living (uppercaseliving.com). She didn't know what to do with it - but I sure did!

Last summer, I bought an old vanity glass door from a garage sale for $1. I didn't know what I was going to use it for, but when my friend showed me the wall decal, I thought immediately of the window, just sitting in my basement waiting patiently for its transformation.

SO, I painted the window black, adhered the decal, dug through the remnants at the bottom of my Halloween decoration bins, and came up with this:

 Window - $1.00
Decal - FREE (for me)
Creatures, Cobwebs, and Fabric - On Hand

I especially love that spooky gauze fabric in the back! 

 Gotta love the metal hardware.


I think this is going to be a SPOOKTACULAR HALLOWEEN! Muahahahahahaha.

Take Time for Lemonade,
Kris


This post has been linked to:
Running With Glitter
Nifty Thrifty Things
Flamingo Toes
Dittle Dattle
Under the Table and Dreaming
Pinkapotamus
The Girl Creative
Keeping It Simple
C.R.A.F.T
Craft-O-Maniac
DIY Home Sweet Home
Marvelously Messy
I Heart Nap Time
Home Savvy
The Letter 4 
Polish the Stars

Sunday, September 25, 2011

The Paradise Post

My mom finally realized her life dream this summer - she got a pool. We had an amazing summer of pool parties, chilling with friends and family, and having cook-outs by the water. It was a blast! Since my mom is the master entertainer, I decided to give her a gift that she could use for her pool parties. For her birthday this year, I made her an outdoor chalkboard for posting weather forecasts, menu items, and other pool-related announcements.

I started off with a chalkboard. I found it at (you guessed it!) a garage sale. Old and dingy...but just you wait.

Chalkboard - 50 cents

I taped the entire chalkboard surface to prep for painting. Next, I had to remove the old stickers and gunk. If you've never used Goo Gone before, you should! It works wonders I tell you!


Obviously, this bad boy needed some color! I decided on Caribbean blue, naturally. I love spray paint! WOO HOOOO!!!


I bought some wooden letters to make a title for the chalkboard. I wanted them to match the board perfectly, so I decided to spray paint these, too. Besides, I LOVE SPRAY PAINT. Of course, the perfect surface for painting is an old picture cardboard with the garage sale tag still attached.

Before

Caribbean Blue! 

Let's play Scrabble. How many words can you find?

Alright! The chalkboard is blue. Now, we need a fresh coat of chalkboard paint. I started off with a paintbrush, but ended up using a roller for better results. Chalkboard paint is peculiar - it looks like navy blue when it's wet.


Ahhh, what a difference a fresh coat of paint makes!

 Good as new.

Now for the fun part...decorating! First, I used a piece of scrap wood for the sign. I garbage picked this a while back...I just KNEW I could use it for something!

Wood - FREE!

I went back and forth about whether or not I would paint it. Eventually, I decided that I liked the look of the original wood finish.


The Paradise Post -
gotta love alliteration. English nerds unite!

GLITTER!

If you know my mom, you know she LOVES GLITTER. I also re-painted a wooden shape to match the blue theme of the chalkboard. I've never seen a blue palm tree, but I like the thought of it! The original (shown above) was green. SO not as cool.

Next, I decided to make the eraser much prettier by Mod-Podging some scrapbook paper to it. I also had my loving husband drill a hole into it and attach a hook so that I could hang it from a string. I have yet to gain my confidence with power tools. After it was dry, I added some bling bling! Come on now - everything looks better with bling.

Eraser - $2.00 (from craft store)

Pretty Eraser

The rest of the supplies are from garage sales (DUH)! I bought the net, anchor, and starfish (plus two more starfish) all  for $1.00, and got the little bucket free from my sister's old dorm room. Random, I know. The string for the eraser was also from a garage sale. I purchased a whole spool of it for a quarter. Heck yeah!

The Finished Product

Net, Anchor and Starfish Decorations - $1.00 for all

Chalk Bucket - Free!
(I made it look "weathered" by rubbing on some brown acrylic paint)

"The Paradise Post" 


...and guess what?! She loved it! I'm so glad. Love ya, Mom!

Now, we'll just have to wait for summer...

Take Time for Lemonade,
Kris


This post has been linked to:


UndertheTableandDreaming Pink Hippo Party Tip Junkie handmade projects