Showing posts with label Crafting. Show all posts

Sunday, March 24, 2013

Wild Irish Rose

My husband and my lovely next-door-neighbor were installing some new stairs in our home today. I couldn't find much to do during the process, so I went into the basement and made art.

I call this "Wild Irish Rose"

To make this, I used:

- An old wine bottle
- Vintage magazine ads (60's/70's)
- Old sheet music ("Wild Irish Rose")
- Decorative paper
- An old clip-on earring
- Glitter
- Paper letters
- Buttons, sequins, beads
- Old couch fabric samples
- Ribbon
- Flowers
- Alcohol ink

I think it looks pretty cool! I just love the "wild" feel of it, and I adore the lady with her feisty expression. The little fabric/earring hat completes her ensemble. I'd definitely hang out with this chick.

Unfortunately, I'm not Irish. But I'm sure I can find a "Wild Irish Rose" who would love to own this piece.

Take Time for Lemonade,
Kris

Monday, July 16, 2012

Skillet Collage

Hey y'all. Just thought I'd write a quick post about a collage I made for my sister. Since she's a Foods teacher, I thought it would be great to incorporate that theme into her collage. I bought this candle a while back at a garage sale for 50 cents:


I loved how unique it was - it came in a little mini iron skillet (perfect to burn in my kitchen). It smelled wonderful and I was very happy to have found it! Once it ran down to the bottom, I knew I had to keep the skillet. I washed it out and used some Goo Gone to get rid of all of the wax residue - and ta da! A cute little mini skillet, perfect for some type of craft.

Here's the finished product. I used the phrase "Eat, Pray, Love" because I thought it really went well with the skillet medium.


To create the collage, I used an old children's book. I was happy to find the image of the vintage woman cooking. I also used a Scrabble piece, old classroom letters, a 3D sticker that I colored with alcohol ink, a page from a vintage cookbook, buttons, ribbon, and scrapbook paper. Oh, and of course I used Mod Podge to seal it all in. Here's a closer look:


So there you have it. A very cheap, easy, and personal gift idea for anyone who loves to cook or eat! 
I think it will look perfect in my sister's classroom! 


Take Time for Lemonade,

Thursday, July 5, 2012

Pool Judge Sticks


I'm a mermaid. Ever since I was a little girl, I have loved the water. I started swim lessons when I was an infant, continued on with Red Cross swim lessons through my childhood years, and even swam for various swim teams throughout my life. Last summer, my mom got a pool, and it has been the source of so much joy for our family. We swim whenever we can, and have made lots of priceless memories while having fun in the sun.

Another thing about my family - we're competitive. Always have been, always will be. So, if we're spending time together - chances are that we will be competing in some way. Whether it's swim races, who can hold their breath the longest, relays, or seeing how many diving rings we can get from the bottom of the pool - we're constantly checking our skills against one another. One of our favorite activities is diving board competitions.

I decided to make these a bit more official by creating some "judge sticks" - similar to what is used in the Olympics for judging (gymnastics, for instance). These are so easy to make, plus almost FREE. You know I love cheap and free.

I started with some paint stirring sticks. You can get these from any hardware store or department store for free. Mine are from both Lowes and Walmart. I wanted to make three sets (for three judges), so I needed 15 total stirring sticks. Then, using a drill, I created a small hole in the end of each stick, like so...

Paint Stirring Sticks - FREE

Next, choose some colors. I thought that a nice turquoise and yellow would look great for the pool (water and sun!) - plus, this is my favorite color and my sister's favorite color combined.


Then, just spray paint the sticks. I decided to do three blue and two yellow sticks for each bunch. Ask me how hot it was when I decided to paint these outside. Over 100 degrees. Terrible. Someone remind me to not do this again. I was sweating like a beast. 


  As you can see, you will need a few coats in order to cover the original writing on the sticks. These took three coats each on the writing side, but only two on the plain side.

SUCCESS!

Now comes the fun part. First, take some pretty ribbon and tie your sticks together by threading the ribbon through the holes in the end.


Then, apply your score numbers. I simply used mailbox numbers. You can buy these at any hardware or department store for around $2 or less. I also like the idea of using these mailbox stickers because they are durable and meant to be outdoors. Since these would be used by the pool, I thought these would work better than traditional stickers.


As a final touch, I sprayed the sticks with some glitter spray. Everything is better with glitter.


You can even see the marks I accidentally made on my basement floor. Oops! Oh well. Like I said, everything is better with glitter anyhow.

So this year, our Independence Day party featured a Yankee Doodle Diving Contest. Competitors had three categories to follow:

1. ROUND ONE - Represent a Famous American
2. ROUND TWO - Represent a U.S. State
3. ROUND THREE - Demonstrate an Olympic Skill

It was an intense competition, with many creative, skillful dives. Here's a snapshot of some of the day's most memorable jumps...


...the judges had some tough decisions to make. We used a 1-5 scale, with 5 being an outstandingly amazing dive, and 1 being a sad attempt. 

Meet our judges...


  This particular judge was very harsh and had an eye for perfection. He also used his mustache to intimidate the competitors...


Overall, it was a beautiful day and a fun way to celebrate 
(plus enjoy some healthy competition)! 
I know we'll be using these judging sticks a lot in the future, too.

Take Time for Lemonade,

Sunday, June 24, 2012

Football Helmet Collage

 Green Bay Packers Helmet Collage

Hey y'all. I thought I'd write a quick post about a craft I made a while back for my dad. If there's one thing that my dad loves in life - it's football. Well, the Green Bay Packers to be specific. He has been watching and rooting for the Packers since he was a little boy, and is definitely a true fan. I grew up watching Packers games, and got to celebrate when the Packers won two Super Bowl championships in my lifetime.

So, for Dad's birthday, I thought I would make him something special.

I started off with a plain helmet. I actually picked this up from a garage sale for free. The lady didn't think she would be able to sell it, so she gave it to me! People are too kind. I probably would have bought it, but hey!

 Football Helmet - FREE!

Then, I printed out some nice, clear Packers photos. If you would like to do a craft like this, be sure to use a laser printer so the ink doesn't smear when you apply the finishing solution. Then, I got out the Mod Podge and a paintbrush, and got to work! Oh, you'll need a nice glass of water, too. For refreshment, of course!

Ready to conquer this project!

The most difficult part about creating a collage is the initial piece-work. Cutting and piecing the photos together "just so" takes time and patience. I also found that working with rounded objects (like a helmet) makes things a bit more difficult. I also had to work around the buckles and snaps and such. In the end, and after a lot of frustration, I think it turned out nicely! Here it is...


Dad's Favorite Quote

My dad loved it. It will definitely be a great conversation piece for his desk at work. Just another strange item to add to my list of collage pieces, I guess. In conclusion, GO PACK GO!

Take Time for Lemonade,

Wednesday, May 23, 2012

Birthday Blessings

On my birthday, I am always reminded of my countless blessings. From my family (of course this includes my pup, Jake), to my friends, to my students - I am constantly surrounded by love, and I really couldn't ask for more. I have so much joy in my life, and therefore, I really do have it all.

I just wanted to share the lovely gift my husband got me this year. He said that the theme for my present was "Follow Your Dream." Since I have a lot of dreams, I really didn't know what to expect. First, let's check out his cute lil' mismatched wrapping job...


See the Little Mermaid paper? He is so cute. I can't even handle it sometimes. So - wanna know what I got? My dream craft station mega kit! Not only did I get a "crafter's toolbox" with all of the necessities, but he got me a customizable craft station! I am SO pumped about setting it up in the basement. We are waiting until after our garage sale, though. Here it is, in all it's glory...


My Wonderful Gift
Rolling Cart with Drawers
File Drawers
Shelves/Organizers
Peg Boards
Desk Top
Spinning Organizing Caddy
Paintbrush Set
Mini Screwdrivers
Mini Pliers
Mini Tape Measure
Various Clamps
Bone File
Hobby Knife Set
Non-stick Scissors
Magnifier Lamp
Hot Glue Gun Stand

I wish I could set it all up today. I can barely handle the anticipation! Oh, and did you see the glue gun stand that my husband built for me? I found the idea on Pinterest and thought it was awesome. This will definitely come in handy - especially the built-in tile to catch the glue drips! I had been using a paper plate - haha. The little box on the end is perfect for storing the glue sticks, too. Yay!


In conclusion, my husband is wonderful. He doesn't mind that I'm constantly bringing strange "treasures" into our house, or that I often ask him to slow down when we pass a nice-looking trash pile. He's just a great guy, and I'm so lucky to have him. Thank you, honey, for these wonderful gifts and for supporting and nurturing all of my dreams. I love you unconditionally.

Oh, and how can I forget? My birthday ended marvelously with a Rainbow Cone. Dee-lish!


...and yes, it tastes as good as it looks.

Take Time for Lemonade,
Kris


Sunday, May 13, 2012

Vacation Countdown Calendar

I can't take credit for this idea. My friend thought this up, and I just created her vision! I thought this was a coolest idea, though. I don't have children yet, but I imagine that it must be difficult to answer the question "How many days is it until _______?!" over and over again. Plus - this vacation calendar is a great gift to give to kids when their actual gift is the vacation itself (which is kinda hard to wrap, if you ask me - HA!). It was such an easy, fun craft to make! Plus, it's an exciting way for kids to look forward to their upcoming trip! From what I hear, changing the number every day is exciting, too...


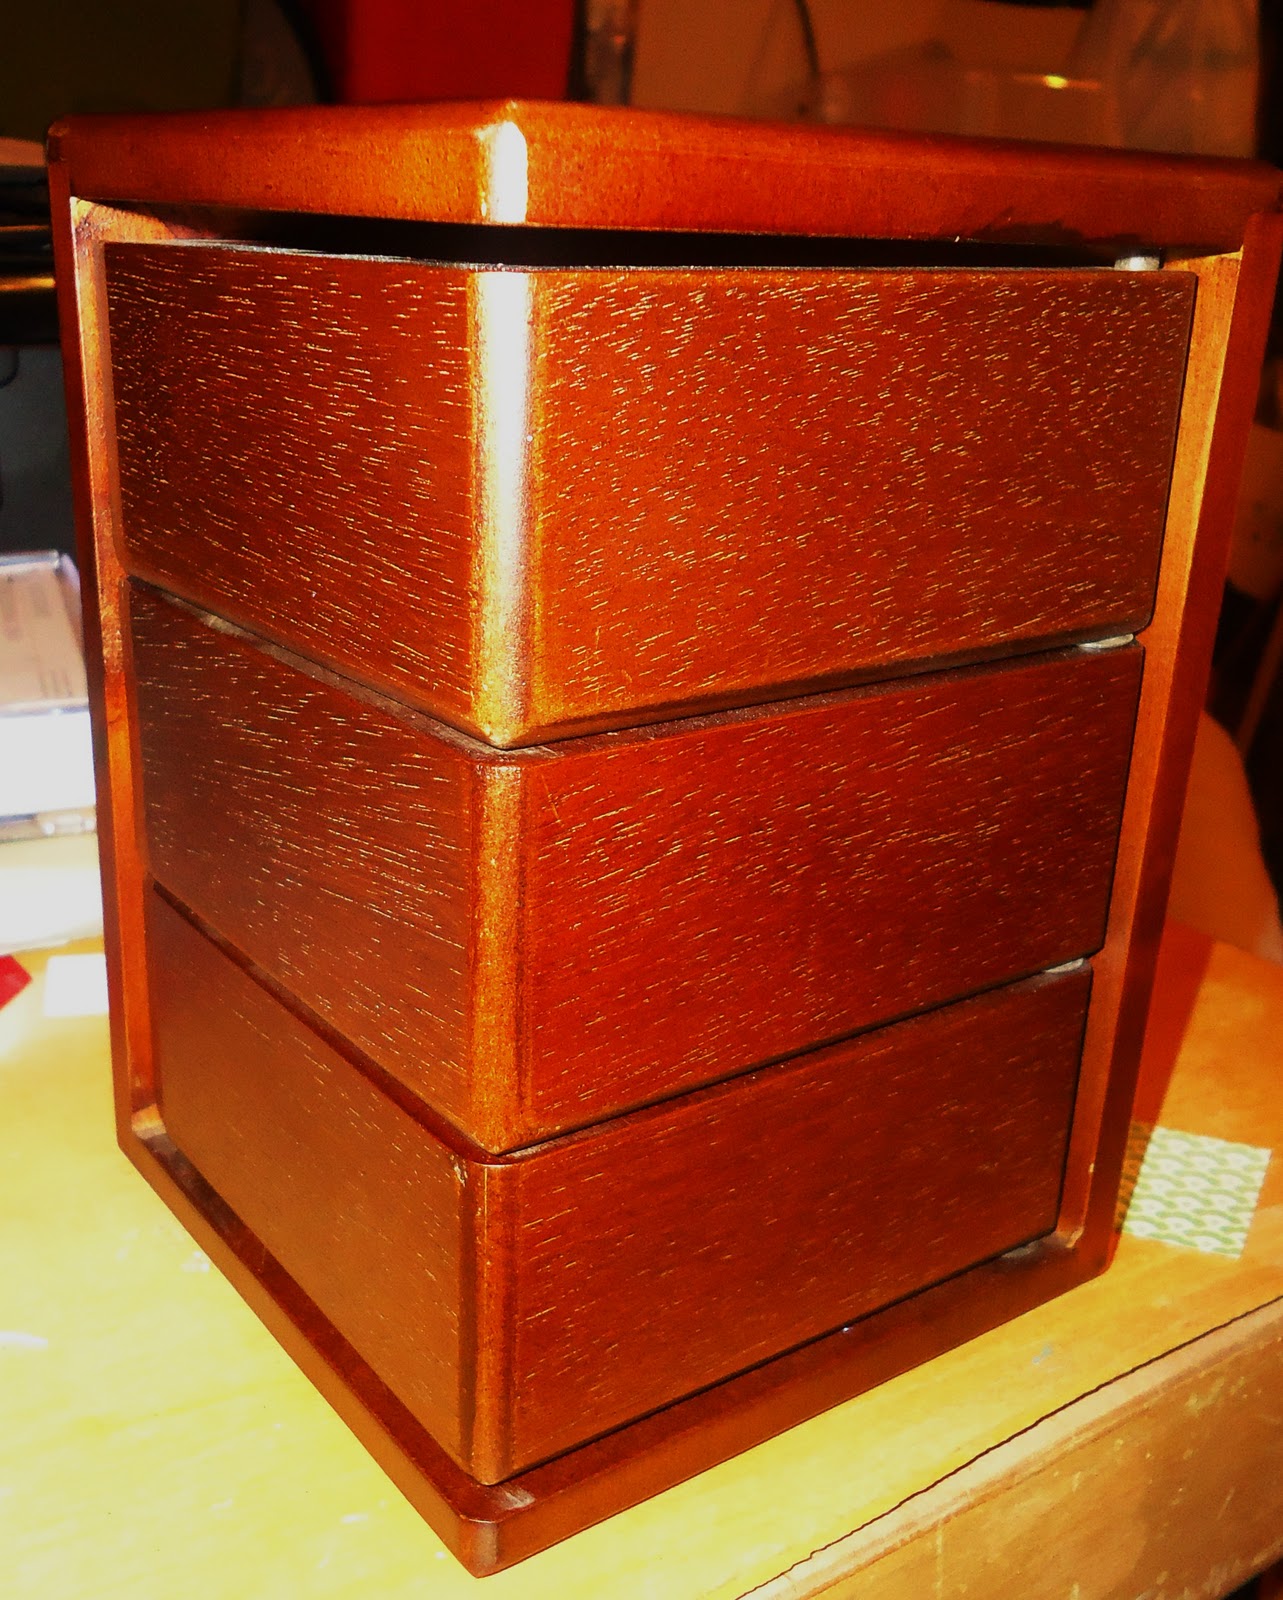
So here it is. Super easy. I started off with a wood trinket box and some wooden blocks (purchased at a craft store). In these photos, you can see how the box can stand on its own, and how the lid slides off...


It's the perfect size for setting it on top of the kitchen counter or at a "high traffic" area in the house for easy, frequent viewing.

Basically, all I did was paint it! I used various acrylic paints and sticker letters for the title. I created a beach theme because I thought that it captured the idea of a vacation - no matter where you're headed! I also painted the blocks using the strategic formula provided to me by my friend (I'm terrible at math). When the paint was still wet, I added some glitter to add excitement! Besides, I have a bit of a glitter addiction. I'm working on it.


So there you have it. A fun, easy, functional craft that will keep your family looking forward to future memories!


Take Time for Lemonade,
Kris


This post has been linked to:
Nifty Thrifty Things
Flamingo Toes
Keeping It Simple
C.R.A.F.T
Marvelously Messy
I Heart Nap Time
Under the Table and Dreaming
LadyBug Blessings
Tatertots and Jello
The Trendy Treehouse
My Uncommon Slice of Suburbia

Friday, January 20, 2012

Grandma's Trinket Box

I created a quick gift for my grandma - inspired by what she loves and the things that remind me of her. It's for her birthday! She's a very special person in my life, and I love her SO much.

So, I started with this little trinket box. I thought it was really cool! I bought it from a garage sale for $2.00 - but the tag on the photo insert said it was from Hobby Lobby. It's so cute!

Trinket Box - $2.00

Then, I covered it with scrapbook paper strips. My gram's favorite color is green, so I used that color as the theme for the project...


Next, I started looking through my bins of treasures! I have TONS of old books, greeting cards, and other do-dads for crafting that I gather throughout my garage sale adventures.  Eventually, here's what I came up with:

The finished piece

Allow me to explain the meaning behind each item...


50's Bathing Beauty - My gram loves to swim and tan!
Definitions - "wisdom" and "grandmother"
Scrabble E - Her first initial
Mickey Mouse - She took me to Disney World many times!
BINGO and Playing Cards - She enjoys playing games
"57" - The year she was married (1957)


Vintage "eve" letters - Her name
Recipe Instructions - She is an excellent baker
Clock - Her house has many clocks (chiming clocks remind me of her)
Definition - "generous"
Key - her home is always warm and inviting

The other two sides of the box have photo frames. I put one old photo of us together, and one recent photo...

 Gosh, I was adorable.

In case you were wondering, here's how the little drawers open up...


So that's that. Just a quick little craft on a snowy Friday night. Hope she likes it!

Take Time for Lemonade,
Kris

Monday, October 24, 2011

Fall Table Bushel

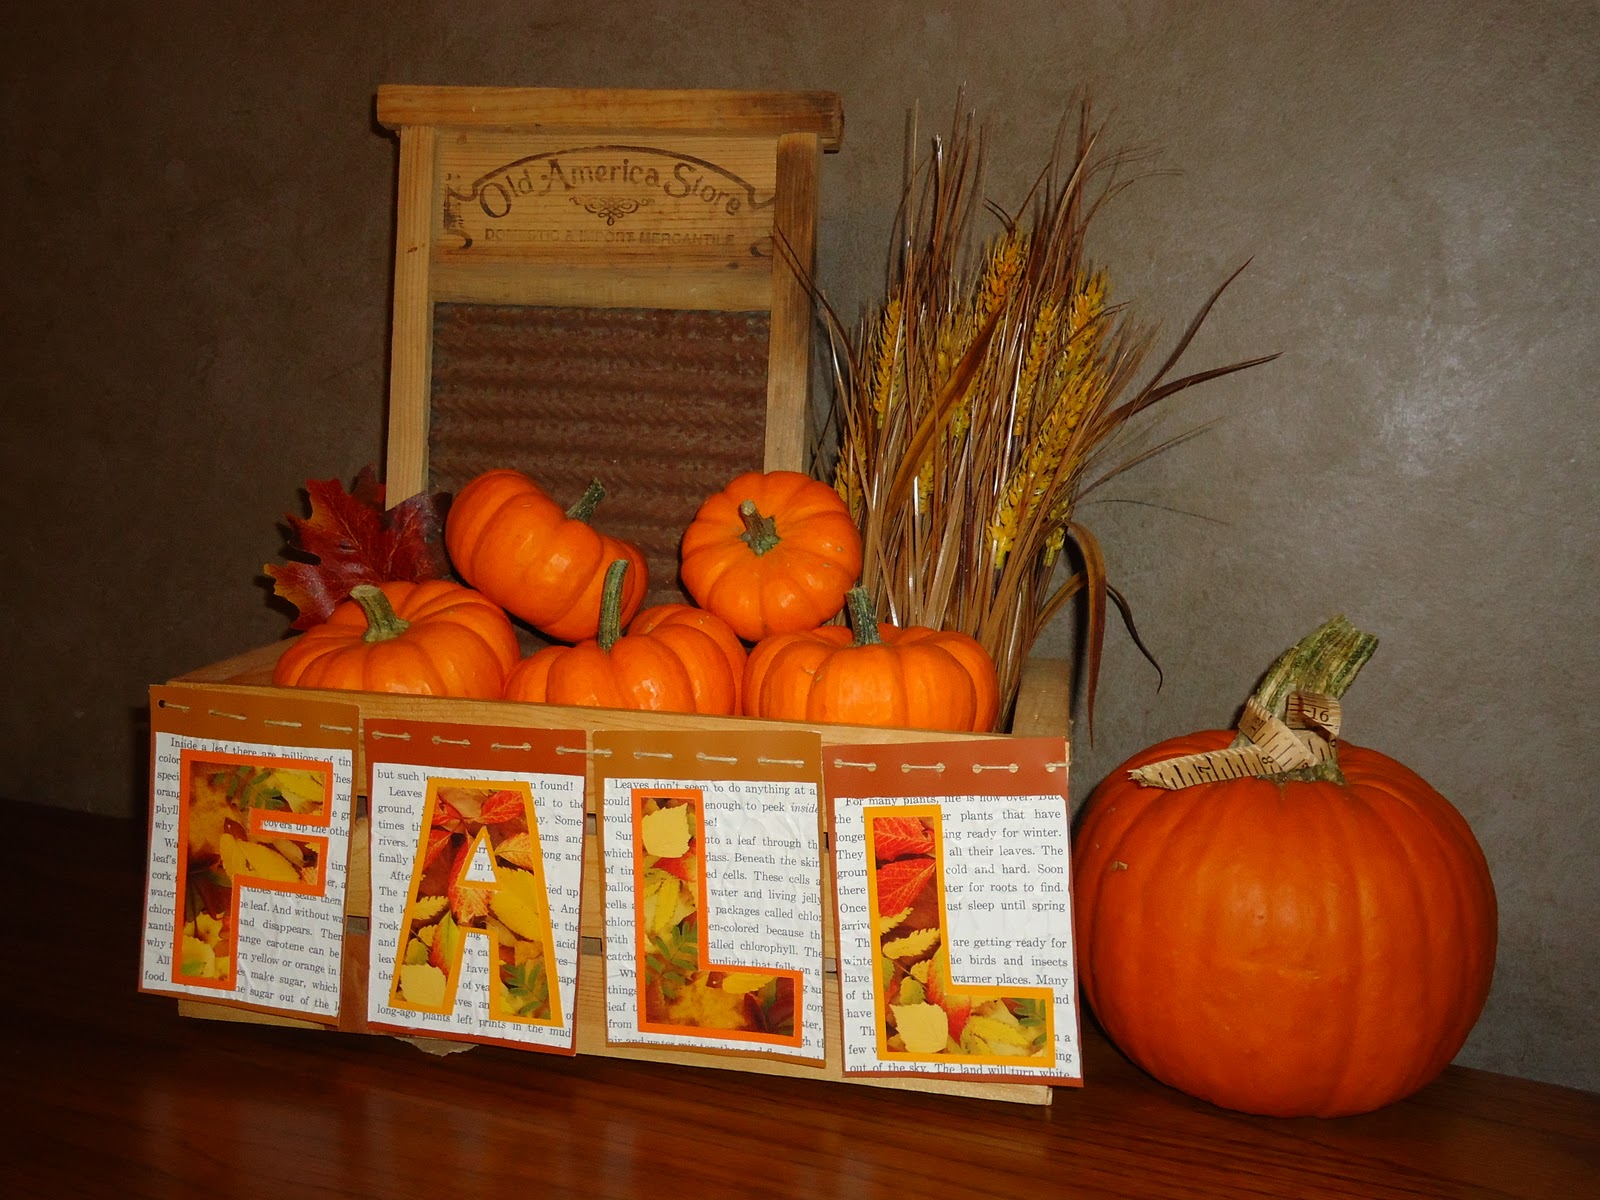
Hey y'all! Since my favorite season is fall, I thought I'd share a centerpiece I made this week. It was really quick, easy, and cheap! Can't complain about that. Here it is!


First, I picked up some free paint samples from the store. I chose colors that went with the fall theme I was going for. They even had some with leaves! Who would've thought?

Paint Samples - FREE

Then, I grabbed an old book that I bought from a garage sale for
20 cents. It looked like it might have some nature-type text, and
by golly, it did! 

Book - 20 cents

I flipped through it to find sections about LEAVES, since that was the theme of my project.

Heck, I even learned a few facts while crafting.

Chlorophyll - more like Bore-o-phyll!

Next, I cut the text into squares - the same size as the paint samples that I cut earlier. To me, I didn't matter if I cut words off - but I wanted to make sure I kept certain words like "autumn" and "leaves."


Then, I crumpled these up and opened them back up again. Who knows why - I guess I like the look of imperfection. Next, I used the leaf-print paint sample to cut letters spelling "F A L L"


Then, I bordered the letters in different colored paint samples to make them "pop." I glued the book pages and the letters to the paint samples and let them dry in a book overnight to make sure they were flat. Next, I punched holes in the top and threaded them together some good ole' garage sale twine. While these people sold it is beyond me - I've used it thrice already!

 Punch

Thread

I originally was going to include beads, but then decided it looked too busy. Once I had my "garland," I tied it to a bushel I bought from a garage sale. I filled the bushel with cardboard pieces to make the contents show. Then, I filled it with mini pumpkins, an old washboard, and some decorative wheat. 

The Finished Display

Cost Breakdown
Pumpkins - $3.00
Wheat - 50 cents (last season's clearance)
Garland - 20 cents (from book)
Washboard - 50 cents (garage sale)
Bushel - 50 cents (garage sale)

TOTAL COST - $4.70

 I just tied some scrap measuring tape on there for fun!

Gosh, I just love fall colors.

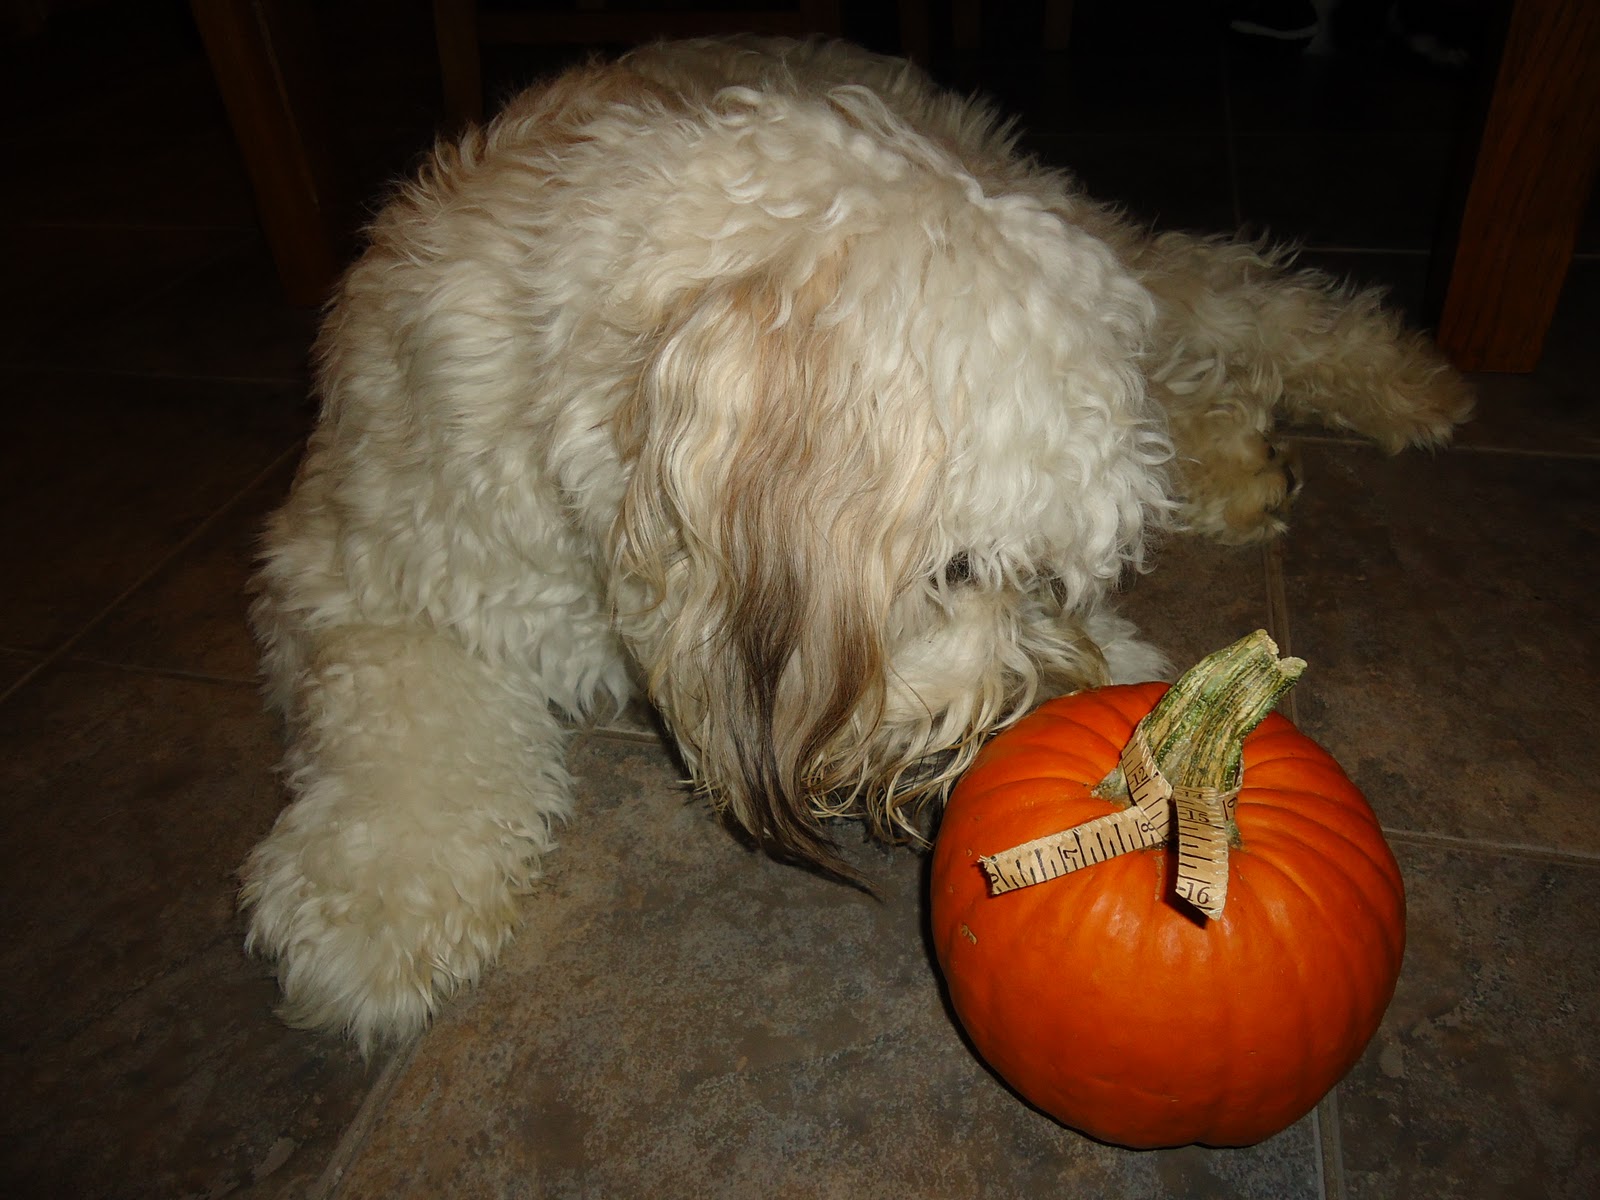
Oh, and in case you were wondering, HERE'S what happens when you try to make a Wheaten Terrier pose with a pumpkin...

 Is this a treat, ma?

Yum! Tastes like a bone!

Hey! Give me my treat back! I didn't do anything wrong, Ma.


SOMEBODY needs his beard brushed. Not naming any names.


Take Time for Lemonade,